Build a token factory on ZIGChain in 15 Minutes
TL;DR: Build a token factory on ZIGChain in about 15 minutes—clone the example app, configure Pinata for IPFS metadata, set
.env.local, run locally, and create a token on testnet or mainnet with a connected wallet.
Overview
Build a token factory on ZIGChain with this step-by-step tutorial and the official Next.js sample. The walkthrough takes about 15 minutes end to end. You will install dependencies, wire Pinata credentials, start the dev server, connect Keplr, and submit a create-token transaction. When you finish, you will have a local token factory that lists tokens and supports create flows on the network you pick.
The example lives in the ZIGChain examples repository at examples/frontend/token-factory.
This tutorial is an example implementation for learning purposes. Review and adapt dependencies, configuration, validation, and security controls before using any part of it in production.
Key Concepts
- Token factory: A ZIGChain module and UI flow that lets you create and list custom tokens on the network you select.
- IPFS: A content-addressed file network. Token images and metadata get a CID that wallets and explorers can resolve.
- Pinata: An IPFS pinning service. The sample app uploads metadata through Pinata and reads files through your gateway URL.
- LCD and RPC: HTTP endpoints the app uses to query chain state and broadcast transactions. Mainnet and testnet URLs are preset in
.env.example. - Keplr: A browser wallet extension used to connect an account and approve create-token transactions.
Prerequisites to Build a Token Factory
Before you build a token factory locally, gather the tools below. Each item supports a later step in the flow, from installing packages to signing transactions and uploading metadata. Missing any piece will block progress, so confirm versions and accounts before you clone the repository.
Before you begin, ensure you have the following installed:
- Node.js (v18 or higher)
- Git
- A compatible wallet extension (Keplr)
- A Pinata account (free tier is sufficient)
Estimated time: 15 minutes. Plan a single sitting so environment variables and the dev server stay in the same shell session.
Step 1: Clone and Install
To build a token factory locally, first clone the ZIGChain examples repository (or only the token factory example) and install the dependencies.
Clone the Repository
Option A — Full clone (recommended for first-time setup):
git clone https://github.com/ZIGChain/zigchain-examples.git
cd zigchain-examples/examples/frontend/token-factory
Option B — Sparse checkout (download only the token factory):
git clone --depth 1 --filter=blob:none --sparse https://github.com/ZIGChain/zigchain-examples.git zigchain-examples
cd zigchain-examples
git sparse-checkout set examples/frontend/token-factory
cd examples/frontend/token-factory
Install Dependencies
From the token-factory directory, install the project dependencies using your preferred package manager:
npm:
npm install
yarn:
yarn install
pnpm:
pnpm install
bun:
bun install
This will install all required dependencies including Next.js, React, ZIGChain SDK, and other necessary packages.
Step 2: Set Up Pinata IPFS
Pinata is an IPFS (InterPlanetary File System) pinning service that allows you to upload and manage files on the decentralized web. Any build a token factory flow on ZIGChain needs durable metadata hosting, and this sample uses Pinata to store token images, descriptions, and related fields on IPFS before the create transaction lands on chain.
Create Account and Get API Credentials
To set up Pinata for the Token Factory, you'll need:
- A Pinata account - Sign up at Pinata (free tier is sufficient)
- A JWT Token - Used to authenticate API requests for uploading files to IPFS
- A Gateway URL - Used to access your IPFS files
For detailed step-by-step instructions, see the Pinata Quickstart.
Quick Reference:
- Get
PINATA_JWT: Sign up at Pinata, go to API Keys, create a new API key (JWT), and copy the JWT value (you won't be able to see it again). - Get
NEXT_PUBLIC_GATEWAY_URL: In the Pinata dashboard, open the Gateways tab and copy your gateway domain (e.g.your-subdomain.mypinata.cloud). Usehttps://+ that domain (e.g.https://your-subdomain.mypinata.cloud).
Understanding Pinata and IPFS
What is IPFS? IPFS (InterPlanetary File System) is a distributed file storage system that stores files across multiple nodes. Files are identified by their content hash (CID), ensuring immutability and decentralization. Wallets and explorers later resolve that CID through a gateway URL you configure in the app.
Why use Pinata?
Pinata provides pinning, uploads, and gateway access in one place. The free tier is enough for this tutorial, and the dashboard shows whether metadata files landed before you sign the chain transaction.
- Pinning Service: Pinata ensures your files remain accessible on IPFS
- Easy Upload: Provides a simple API for uploading files
- Gateway Access: Offers fast gateway URLs to access your IPFS files
- Free Tier: Includes generous free storage for development
How it works in the Token Factory:
The UI uploads token metadata to IPFS through Pinata, stores the returned CID with the token on chain, and serves images through your gateway domain. If the gateway or JWT is wrong, the create step may succeed on chain while metadata looks broken in the list view.
Step 3: Configure Environment Variables
The repository includes a .env.example file with pre-configured mainnet and testnet endpoints. Create a .env.local file in the project root (the token-factory app directory):
-
Copy the example file:
cp .env.example .env.local -
Or manually create
.env.localwith the following environment variables:
PINATA_JWT=
NEXT_PUBLIC_GATEWAY_URL=

# Site branding (used in page title, nav bar, and meta description)
NEXT_PUBLIC_SITE_TITLE=My Token Factory
NEXT_PUBLIC_SITE_DESCRIPTION=Token Factory for My Project

# Network Configuration for Mainnet
NEXT_PUBLIC_MAINNET_API_URL=https://public-zigchain-lcd.numia.xyz
NEXT_PUBLIC_MAINNET_RPC_URL=https://public-zigchain-rpc.numia.xyz
NEXT_PUBLIC_MAINNET_CHAIN_ID=zigchain-1

# Network Configuration for Testnet
NEXT_PUBLIC_TESTNET_API_URL=https://public-zigchain-testnet-lcd.numia.xyz
NEXT_PUBLIC_TESTNET_RPC_URL=https://public-zigchain-testnet-rpc.numia.xyz
NEXT_PUBLIC_TESTNET_CHAIN_ID=zig-test-2

# Default Network (mainnet or testnet)
NEXT_PUBLIC_DEFAULT_NETWORK=testnet

# Logging
ENABLE_LOGGING=false
Environment Variables Explained
-
PINATA_JWT: Your Pinata JWT token from Create Account and Get API Credentials. See the Pinata Quickstart for how to create an API key and get your JWT. -
NEXT_PUBLIC_GATEWAY_URL: The public gateway URL for accessing IPFS files. Get your gateway domain from the Pinata dashboard (Gateways tab); see the Pinata Quickstart for details. -
NEXT_PUBLIC_SITE_TITLE: Site name used in the browser tab, nav bar, and logo alt text. -
NEXT_PUBLIC_SITE_DESCRIPTION: Meta description for the app (e.g. for search results and social previews). -
Mainnet:
NEXT_PUBLIC_MAINNET_API_URL,NEXT_PUBLIC_MAINNET_RPC_URL,NEXT_PUBLIC_MAINNET_CHAIN_ID— LCD API URL, RPC URL, and chain ID for ZIGChain mainnet. -
Testnet:
NEXT_PUBLIC_TESTNET_API_URL,NEXT_PUBLIC_TESTNET_RPC_URL,NEXT_PUBLIC_TESTNET_CHAIN_ID— LCD API URL, RPC URL, and chain ID for ZIGChain testnet. -
NEXT_PUBLIC_DEFAULT_NETWORK: Default network to use — set tomainnetortestnet. You can also switch between mainnet and testnet from the app UI. -
ENABLE_LOGGING: Set totrueto enable logging.
Note: The example file already includes mainnet and testnet endpoints. You only need to fill in your Pinata credentials (PINATA_JWT and NEXT_PUBLIC_GATEWAY_URL) and optionally customize NEXT_PUBLIC_SITE_TITLE and NEXT_PUBLIC_SITE_DESCRIPTION. Never commit your .env.local file to version control.
Logo and Favicon
- Logo: Add a
logo.pngfile to thepublic/folder (or replace the existing one). The nav bar uses this image; the logo text and image alt come fromNEXT_PUBLIC_SITE_TITLE. - Favicon: Place your favicon in
public/(e.g.favicon.ico) or inapp/(e.g.app/favicon.ico) so it appears in the browser tab.
Step 4: Run the Application
Start the development server:
npm:
npm run dev
yarn:
yarn dev
pnpm:
pnpm dev
bun:
bun dev
Open http://localhost:3000 in your browser. You should see the token factory application main page, which displays a list of all tokens created on the ZIGChain network. This confirms your build a token factory setup is running before you connect a wallet.
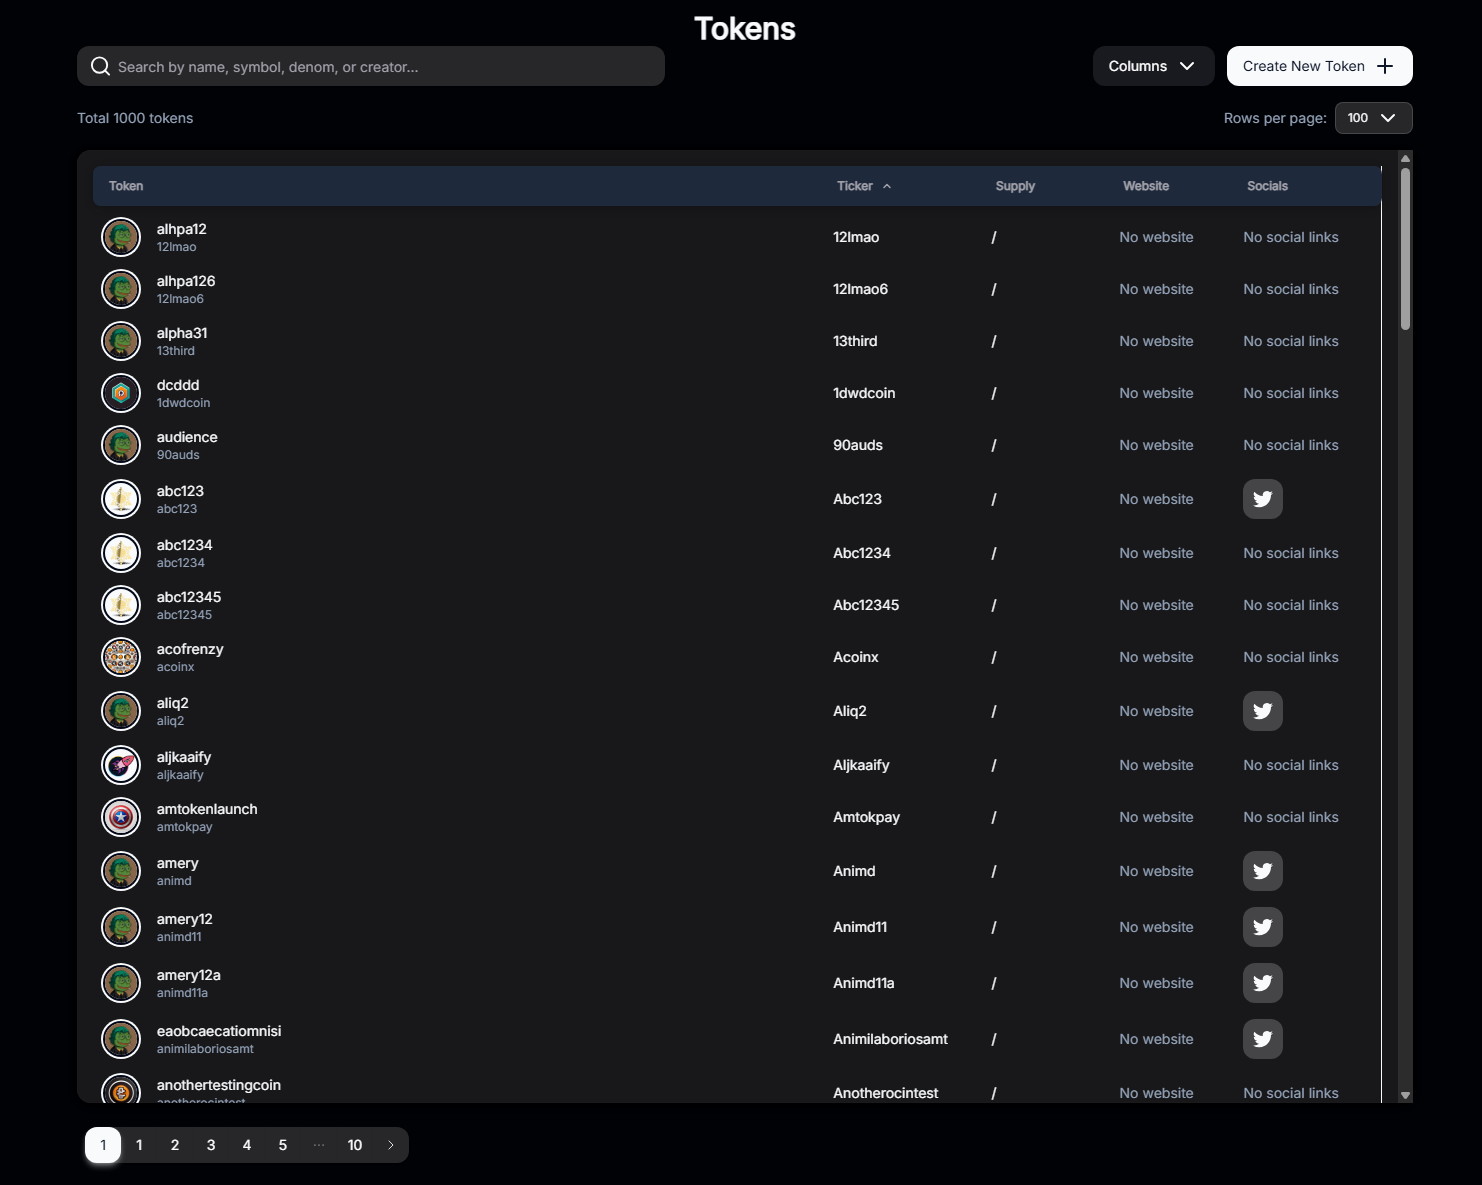
The app lets you switch between mainnet and testnet from the UI, and includes a dark mode switch so you can choose your preferred theme.
Using the Token Factory Application
Connect Your Wallet
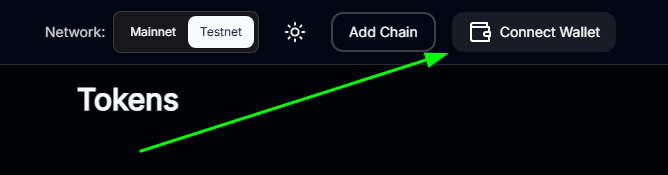
The wallet step binds your on-chain identity to the token factory UI. Complete it once per browser profile before you create assets, and keep the extension unlocked while transactions are pending.
- Click the "Connect Wallet" button on the main page
- Select your wallet
- Approve the connection request in your wallet extension
- If this is your first time, you may need to add the ZIGChain network to your wallet
Note: If you haven't added ZIGChain to your wallet yet, refer to the Set Up a ZIGChain Wallet tutorial.
Create a New Token
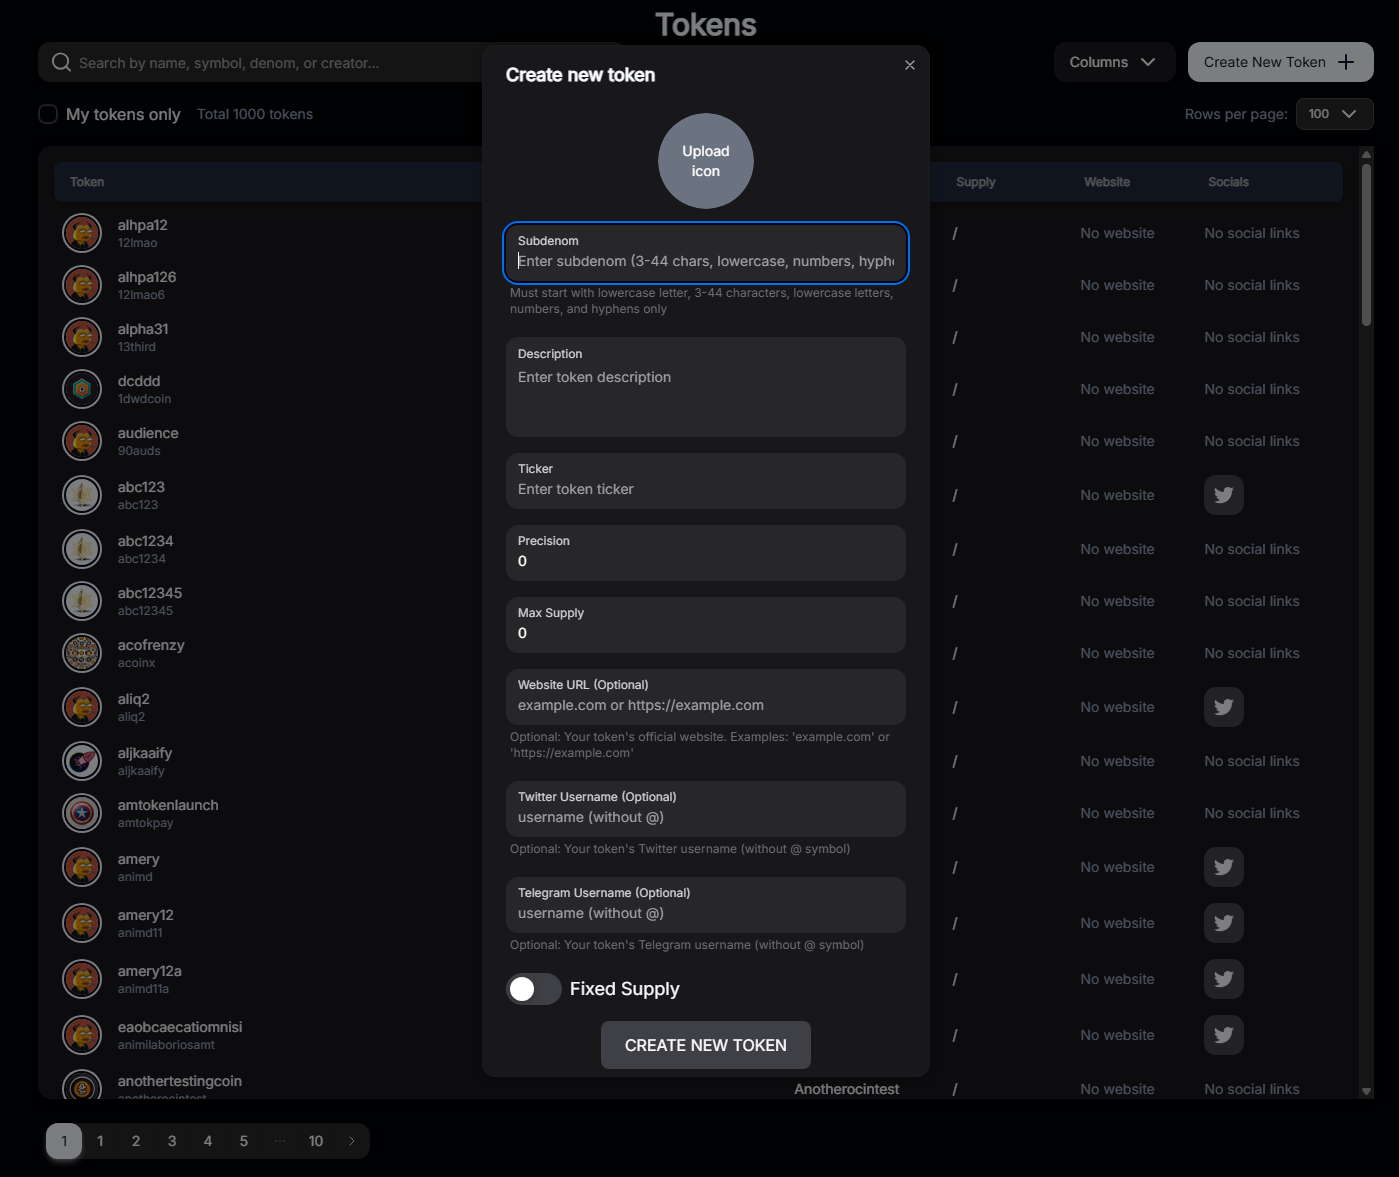
Creating a token is the core outcome of the build a token factory tutorial. The form collects denom details, uploads metadata, and asks the wallet to sign the factory message for the active network.
-
Click on the "Token Creation" tab
-
Fill in the token details:
- Name: The full name of your token (e.g., "My Awesome Token")
- Ticker: A short symbol for your token (e.g., "MAT")
- Precision: Decimal places (typically 6 or 18)
- Maximum Supply: The total supply cap for your token
- Description: Optional description of your token
- Image: Upload a token image (will be stored on IPFS via Pinata)
- Social Links: Optional links to website, Twitter, etc.
-
Upload Metadata to Pinata:
- When you fill in the token details and upload an image, the application automatically uploads the metadata to IPFS via Pinata
- The IPFS hash (CID) will be generated and stored with your token
- You can verify the upload in your Pinata dashboard under "Files"
-
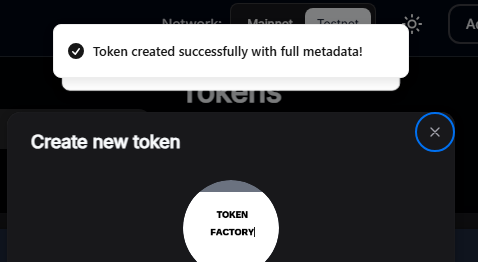
Click "Create New Token" (or "Create Token") to submit the transaction
-
Approve the action in your wallet extension — Your wallet will open and ask you to confirm the transaction. Review the details and approve to broadcast the transaction to the network.
-
Wait for the transaction to be confirmed on-chain
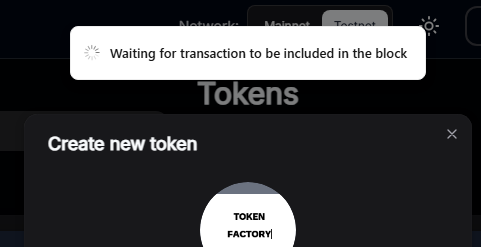
- Once confirmed, your new token will appear in the tokens list on the main page!
Common Questions
Full clone versus sparse checkout
Use a full clone when you want the whole examples repo and may explore other samples later. Use sparse checkout when you only need the token-factory folder and want a smaller download. Both paths end in examples/frontend/token-factory before you install packages. Pick one approach before you run install commands so your working directory stays consistent through the rest of the build a token factory steps.
Testnet as the default network
NEXT_PUBLIC_DEFAULT_NETWORK is set to testnet in .env.example so first runs use test funds. You can change that value to mainnet or switch networks in the app UI after the server starts. Test on testnet until balances, fees, and metadata uploads look correct, then point the same build a token factory app at mainnet when you are ready.
Restart after environment file changes
Yes. Next.js reads environment variables at startup. Stop the dev server, update .env.local, then run your package manager’s dev command again so Pinata and network URLs reload. Skipping the restart is a common reason Pinata uploads fail even when keys look correct in the file.
Next Steps
Now that you have the Token Factory running locally, you can extend what you built in this build a token factory session. Try different supply and precision values on testnet, then repeat the same form on mainnet once fees and balances look right. When you are ready to host the UI, follow your platform’s Next.js deployment guide and inject the same Pinata and RPC variables in the host dashboard.
- Customize Tokens: Experiment with different token parameters and metadata
- Deploy to Production: For deployment instructions, see the deployment documentation
- Learn More: Read the ZIGChain Module - Token Factory to understand the underlying blockchain functionality
- Explore More Examples: Browse the ZIGChain examples repository and the Token Factory example for the full README and project structure
Congratulations! You've successfully set up and are running the ZIGChain Token Factory application. Happy token creating! 🚀