Set Up a ZIGChain Wallet
TL;DR: ZIGChain wallet setup with Keplr connects your browser wallet to mainnet or testnet. Install the extension, back up your recovery phrase, and toggle chains in the Keplr menu.
Overview
ZIGChain wallet setup connects a Cosmos-compatible wallet to mainnet or testnet so you can hold and send ZIG. This guide walks through Keplr step by step; other supported wallets follow a similar install, import, and chain-selection flow. Follow each section in order when you set up a wallet for the first time on ZIGChain.
ZIGChain runs on two networks that serve different goals. Mainnet is the primary blockchain where transactions carry real economic value. Testnet is a testing environment for developers and users to experiment without financial risk. Pick the network that matches your task before you send or receive tokens.
If you use a hardware device, finish browser wallet setup here first. Then see Set Up Ledger Wallet for ZIGChain for Cosmos app install and Keplr pairing. Before you stake or open the ZIGChain Hub, confirm Keplr shows the correct ZIGChain network in the chain list.
The sections below cover Keplr install for mainnet and testnet switching.
Key Concepts
- Keplr Wallet: Browser extension wallet for Cosmos chains, including ZIGChain mainnet and testnet.
- Recovery phrase: Mnemonic that backs up wallet access; store it offline and never share it.
- Mainnet: The primary ZIGChain network where transactions have real economic value.
- Testnet: A testing network for developers and users to experiment without financial risk.
Keplr Wallet and ZIGChain Wallet Setup
This section completes ZIGChain wallet setup in Keplr for mainnet and testnet. You install the browser extension, create or import a wallet, and enable the right chain in the Keplr menu. Work through mainnet first, then switch to testnet when you need free tokens for experiments.
The steps use screenshots so you can match each Keplr screen during setup. Keep your recovery phrase private at every step. When mainnet is active, you can fund the wallet on chain or move on to Staking on ZIGChain when you are ready to delegate.
Add ZIGChain Mainnet in Keplr
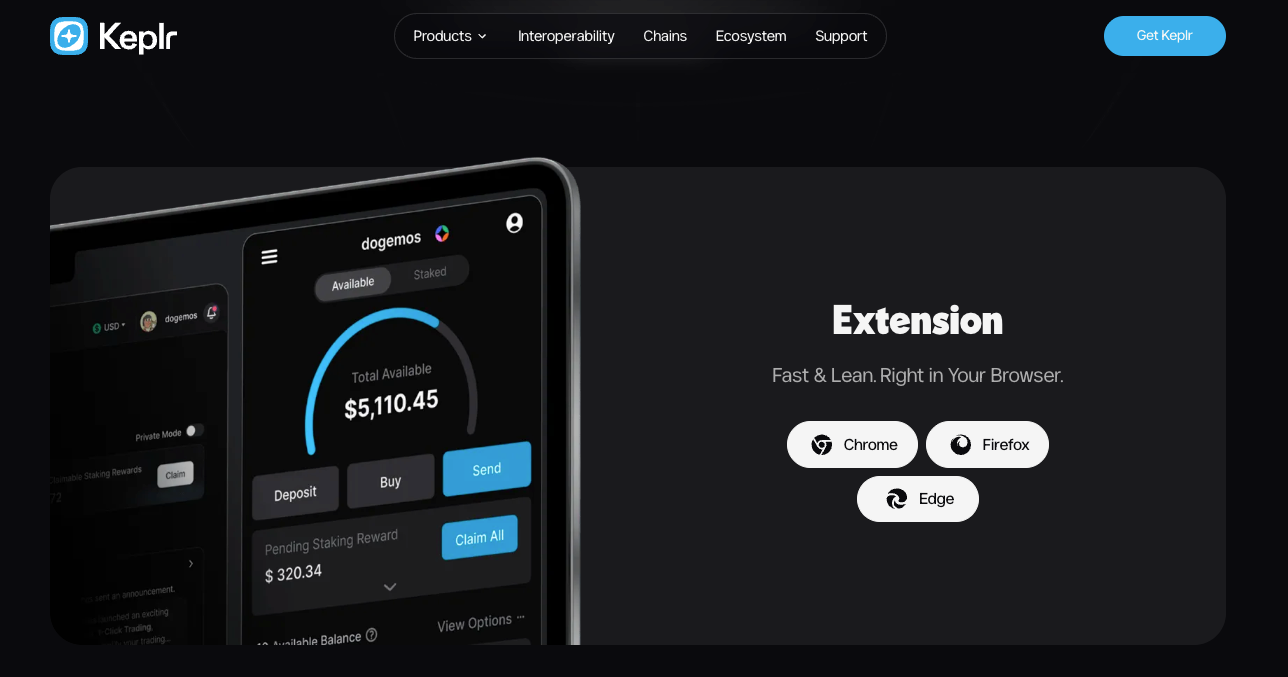
- Install the Keplr Wallet extension compatible with your browser.
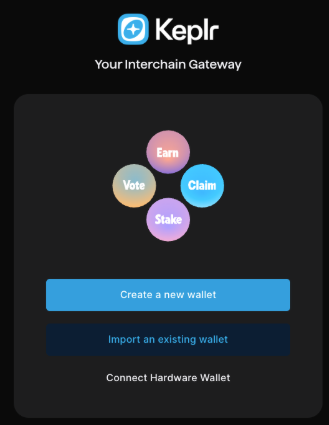
- Create a new wallet or import an existing one.
If you create a new wallet, securely back up your recovery phrase and never share it with anyone.
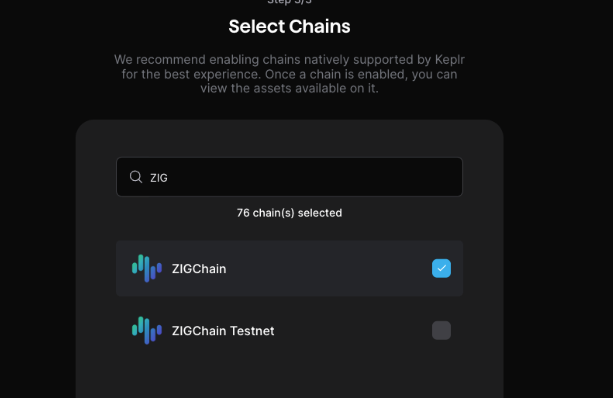
- In the setup flow, select ZIGChain and click Save.
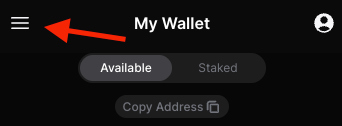
- To confirm ZIGChain is enabled, open the menu (three lines), go to Add/Remove Chains, and ensure that ZIGChain is toggled on.
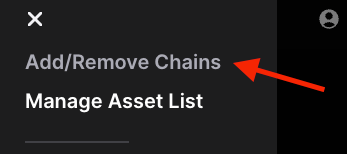
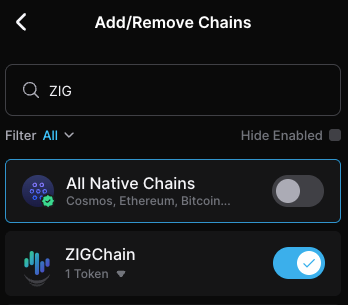
✅ Your wallet is now connected to ZIGChain Mainnet.
Switch to ZIGChain Testnet in Keplr
- Open the menu (three lines) and go to Add/Remove Chains.
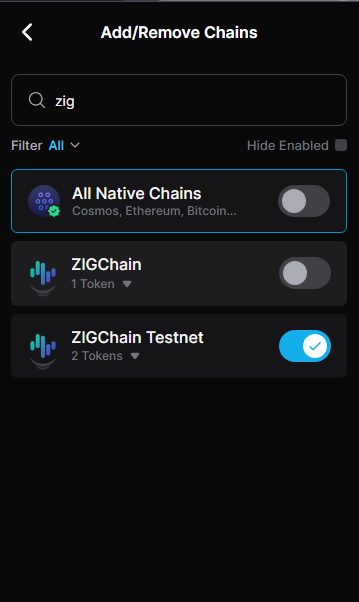
- Toggle on the option ZIGChain Testnet.
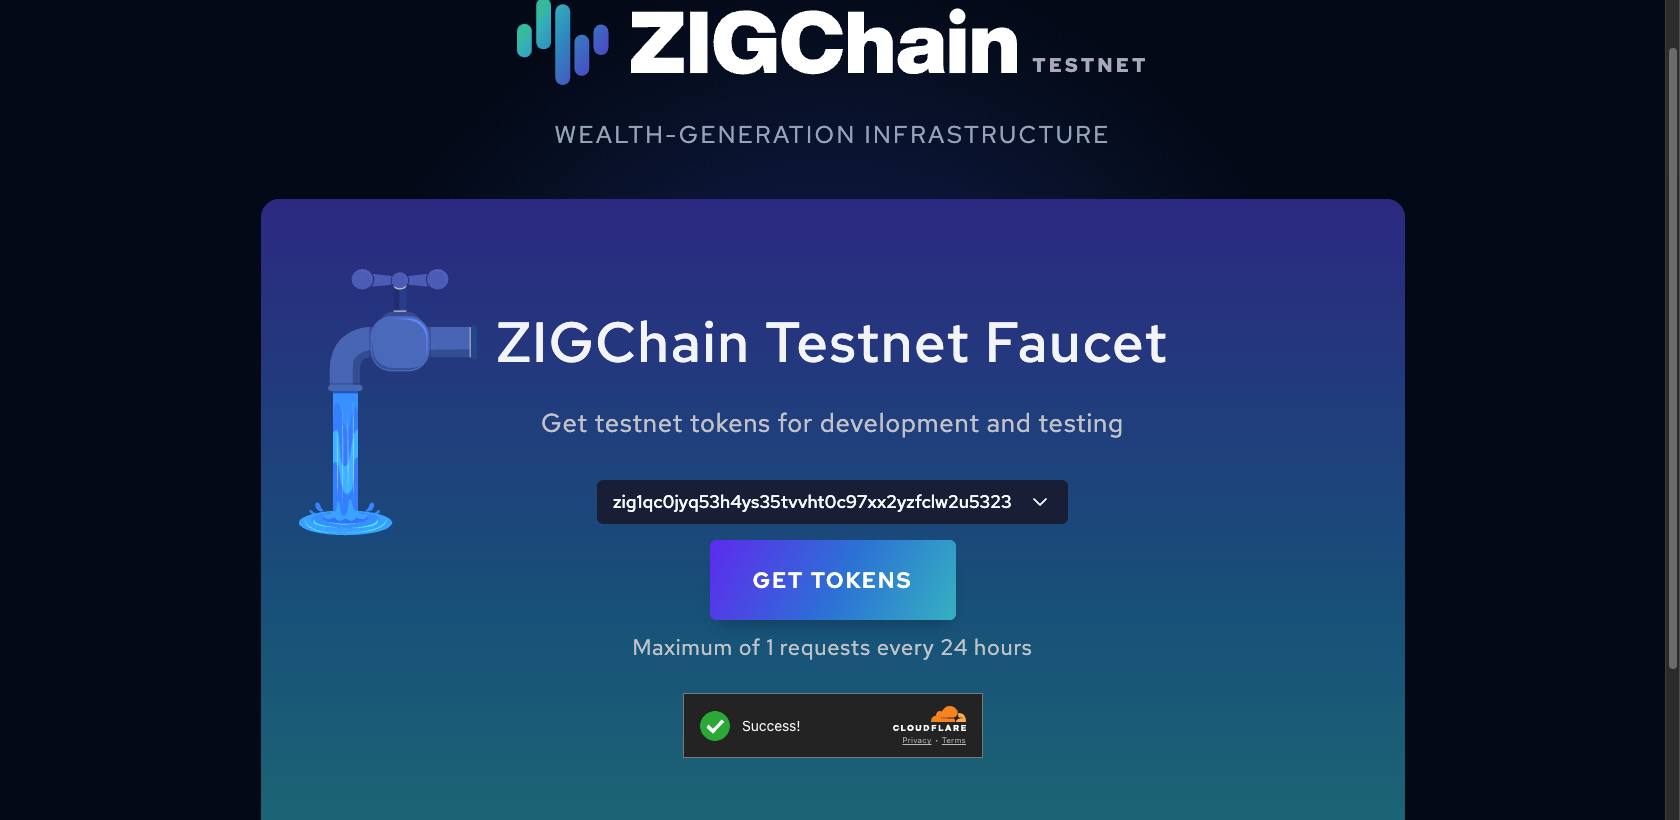
To receive tokens on Testnet, visit the ZIGChain Faucet, connect your wallet, and claim tokens. You can request tokens once per day. Testnet ZIG has no mainnet value, so use it only for learning and app tests before you move to live funds.
Common Questions
How often can you claim testnet tokens from the ZIGChain Faucet?
You can request testnet tokens once per day at the ZIGChain Faucet. Connect the same Keplr wallet you use for ZIGChain wallet setup and enable ZIGChain Testnet in Add/Remove Chains first. The faucet sends tokens only to the testnet address shown in Keplr. Wait until the next day if you need another test allocation.
Leap Wallet Sunset
Leap Wallet and related Leap products were sunset on 28 May 2026.