Set Up Trezor for ZIGChain EVM
TL;DR: Add ZIGChain to MetaMask, connect your Trezor to MetaMask as a hardware wallet, then select ZIGChain and confirm each transaction on the Trezor.
Overview
You set up Trezor for ZIGChain EVM through MetaMask. MetaMask connects to the ZIGChain Ethereum Virtual Machine (EVM) and builds the transactions, and the Trezor hardware wallet signs them. The keys stay only on the Trezor device, protected by its hardware.
This guide is for Trezor owners who want to hold ZIG and use applications on ZIGChain EVM. You need a Trezor device, MetaMask for Chrome or Firefox, and ZIGChain added to MetaMask. A Trezor account in MetaMask uses coin type 60, like every EVM account on ZIGChain.
Steps to Set Up Trezor for ZIGChain EVM
Step 1: Add ZIGChain to MetaMask
Add ZIGChain mainnet or testnet to MetaMask as a custom network. The network details and steps are in Set Up MetaMask for ZIGChain.
Step 2: Connect Your Trezor to MetaMask
Connect your Trezor to MetaMask as a hardware wallet and import the Trezor account. The steps below use the MetaMask browser extension. Trezor also describes the steps in its guide MetaMask and Trezor.
- Connect your Trezor to your computer and unlock it.
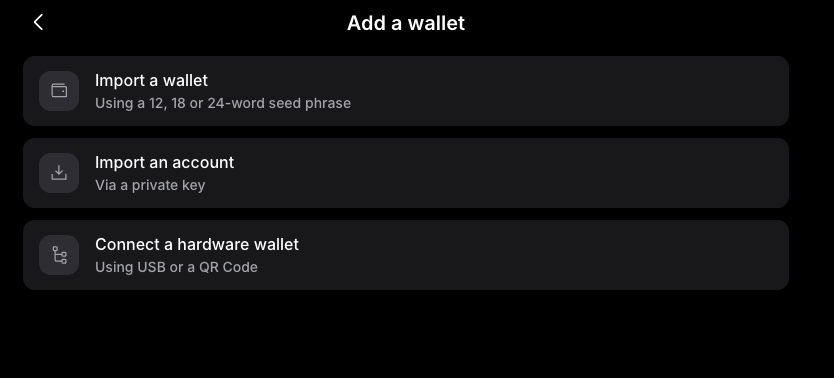
- Open the account menu at the top left of MetaMask and select Add wallet.
- Select Connect a hardware wallet on the Add a wallet screen.
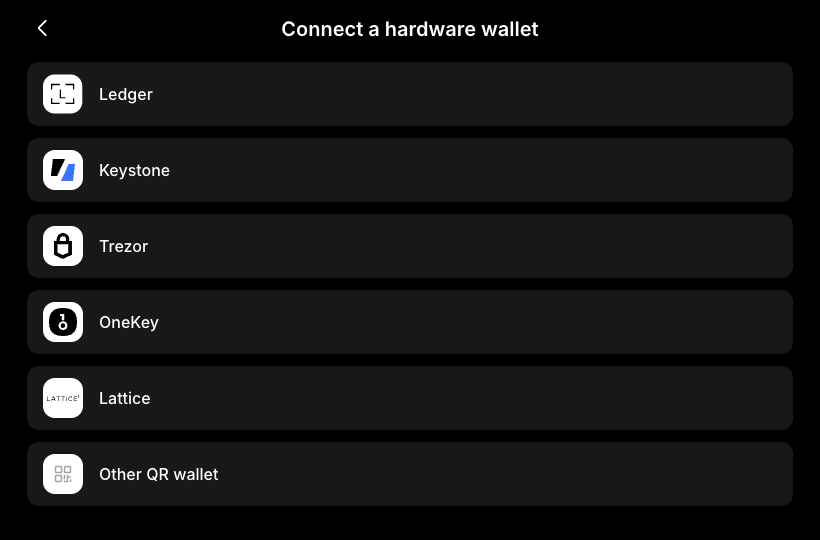
- Select Trezor on the Connect a hardware wallet screen.
- Allow the USB connection: when the browser shows MetaMask wants to connect, select your Trezor and select Connect.
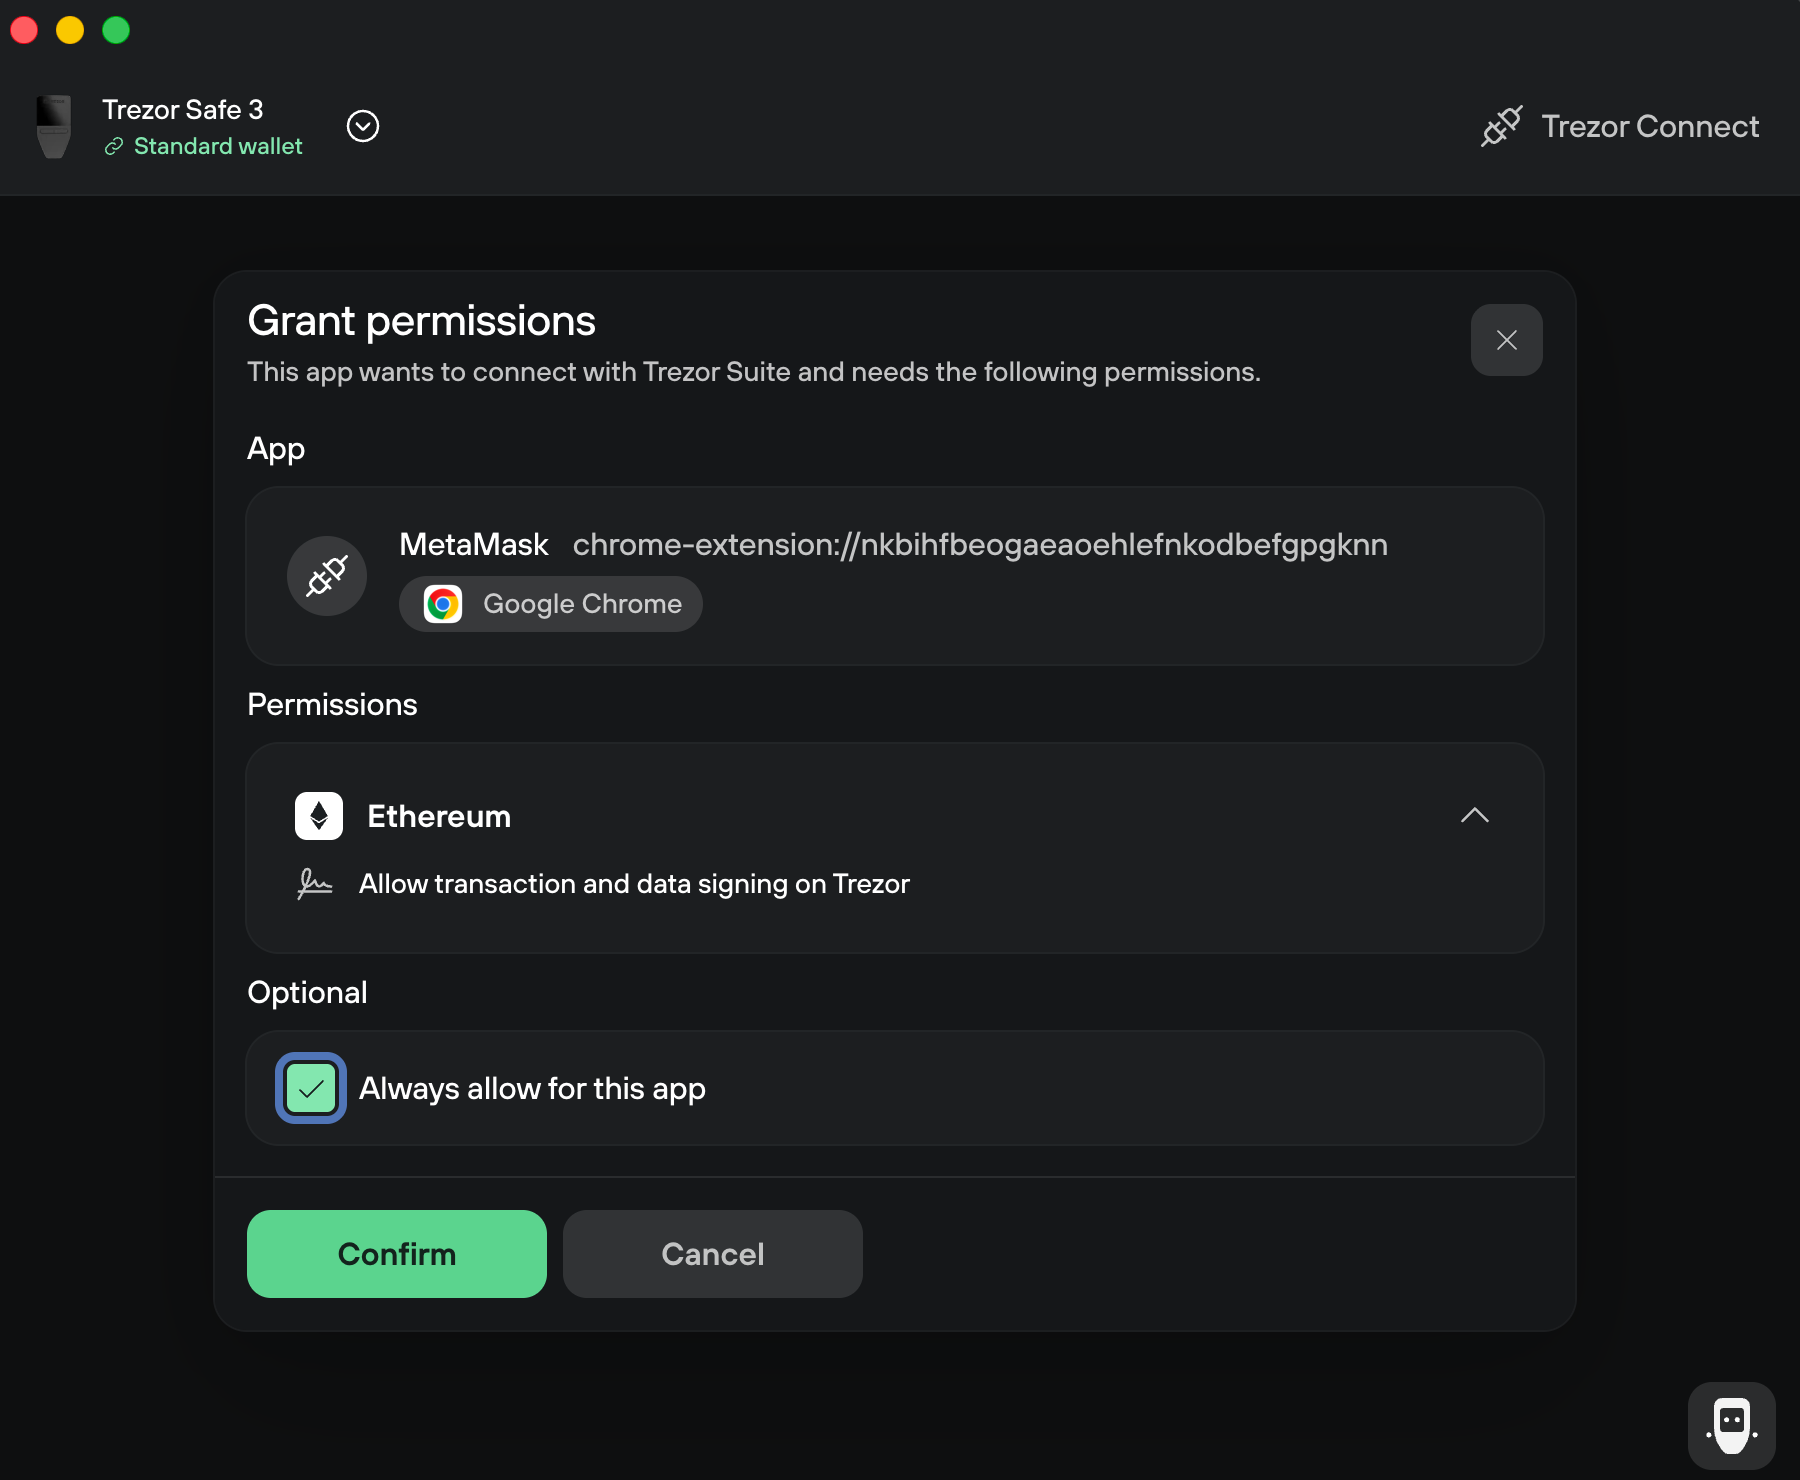
- Grant permissions in the Trezor Connect window: the window lists MetaMask and the Ethereum permission "Allow transaction and data signing on Trezor". Select Confirm.
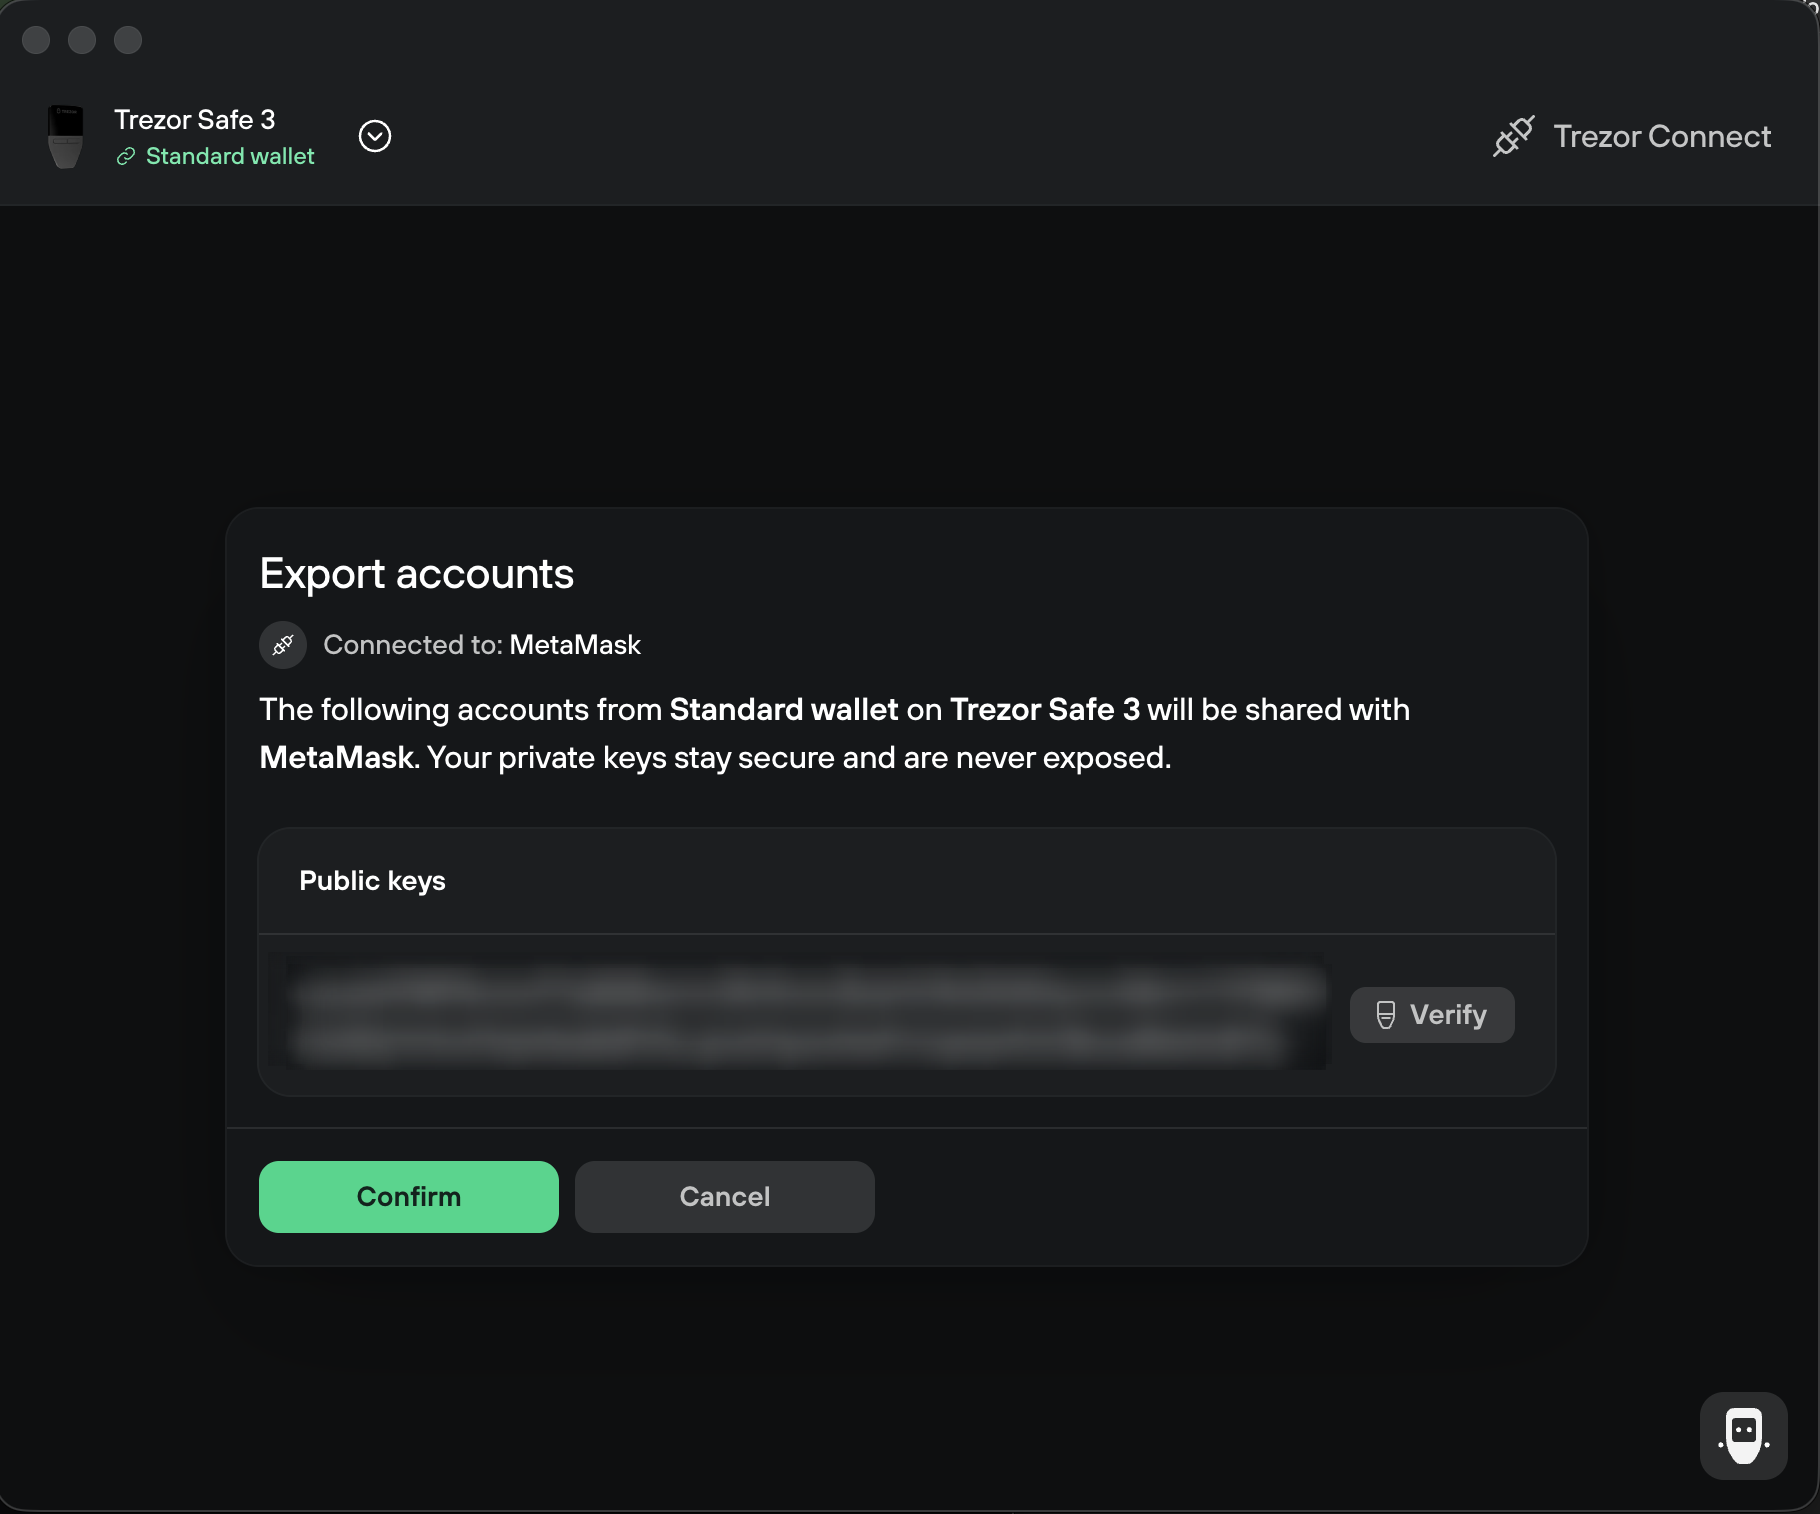
- Export the account to MetaMask: on Export accounts, select Confirm, then follow the instructions on your Trezor's screen. When Trezor Connect shows Accounts exported successfully, select Close.
- Choose the account on the MetaMask Select an account screen: keep the BIP44 Standard (e.g. MetaMask, Trezor) HD path, tick the account you want to add, and select Unlock.
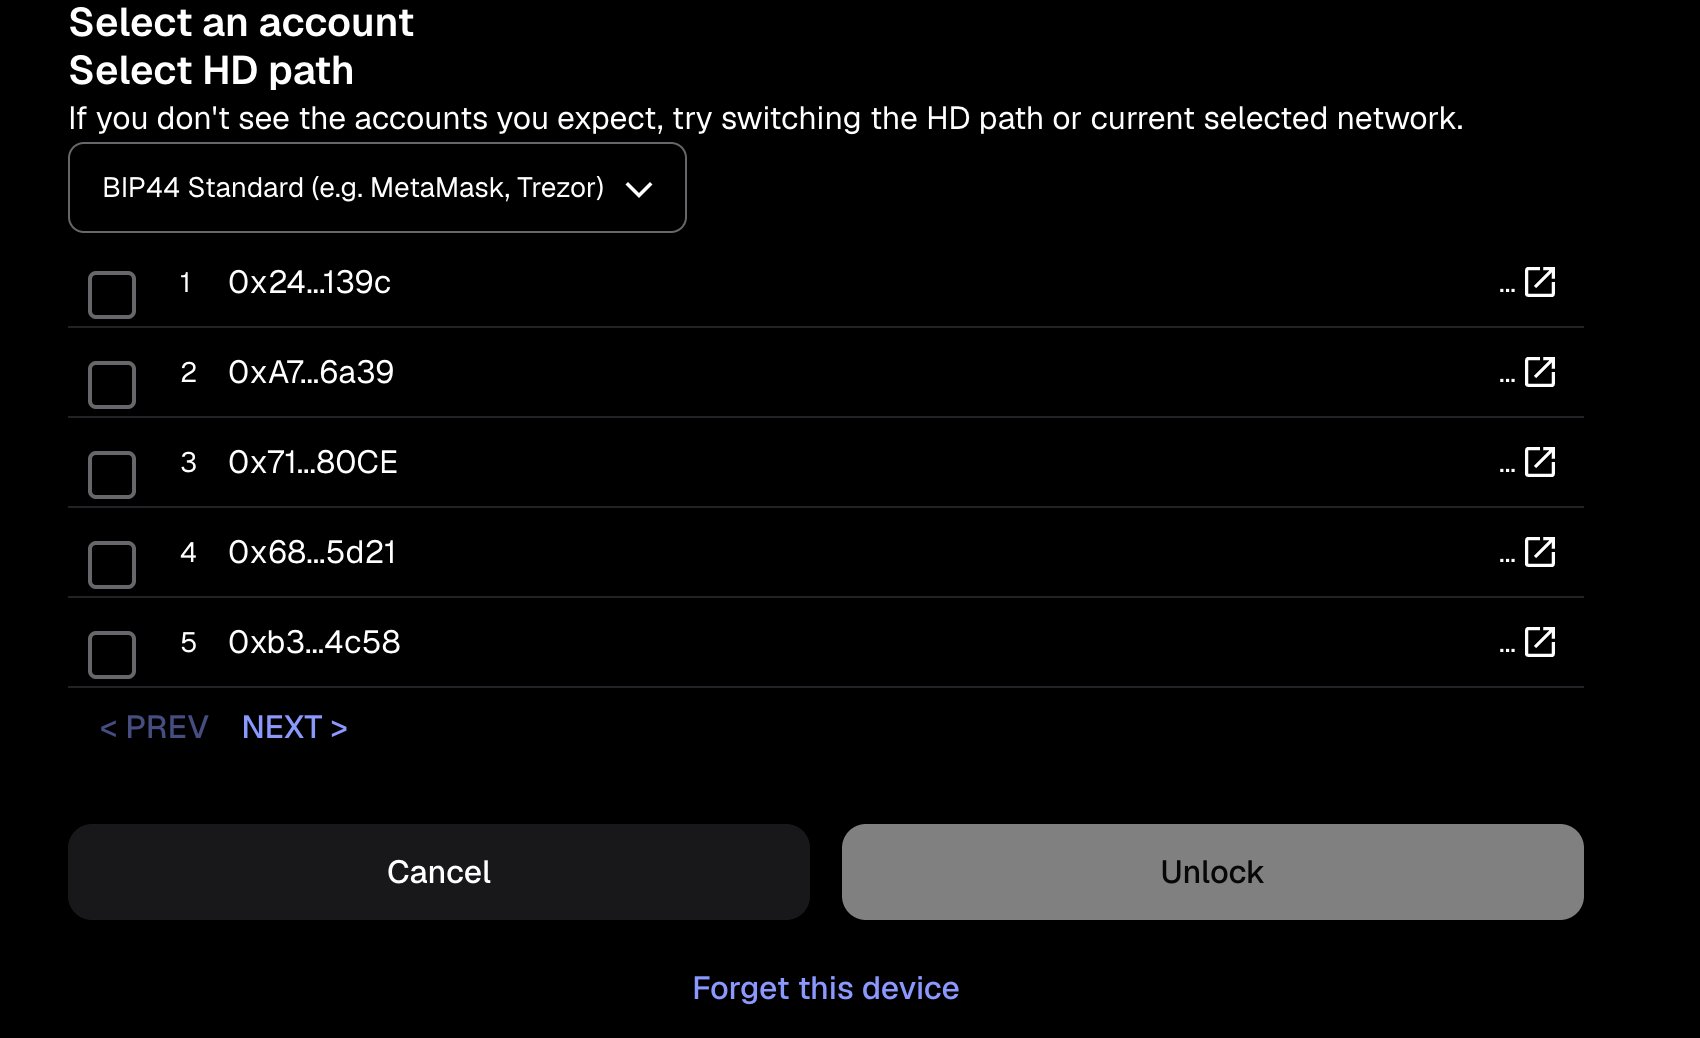
The Trezor account in MetaMask is separate from any account that MetaMask created with its own recovery phrase. Only your Trezor wallet backup can recover the Trezor account.
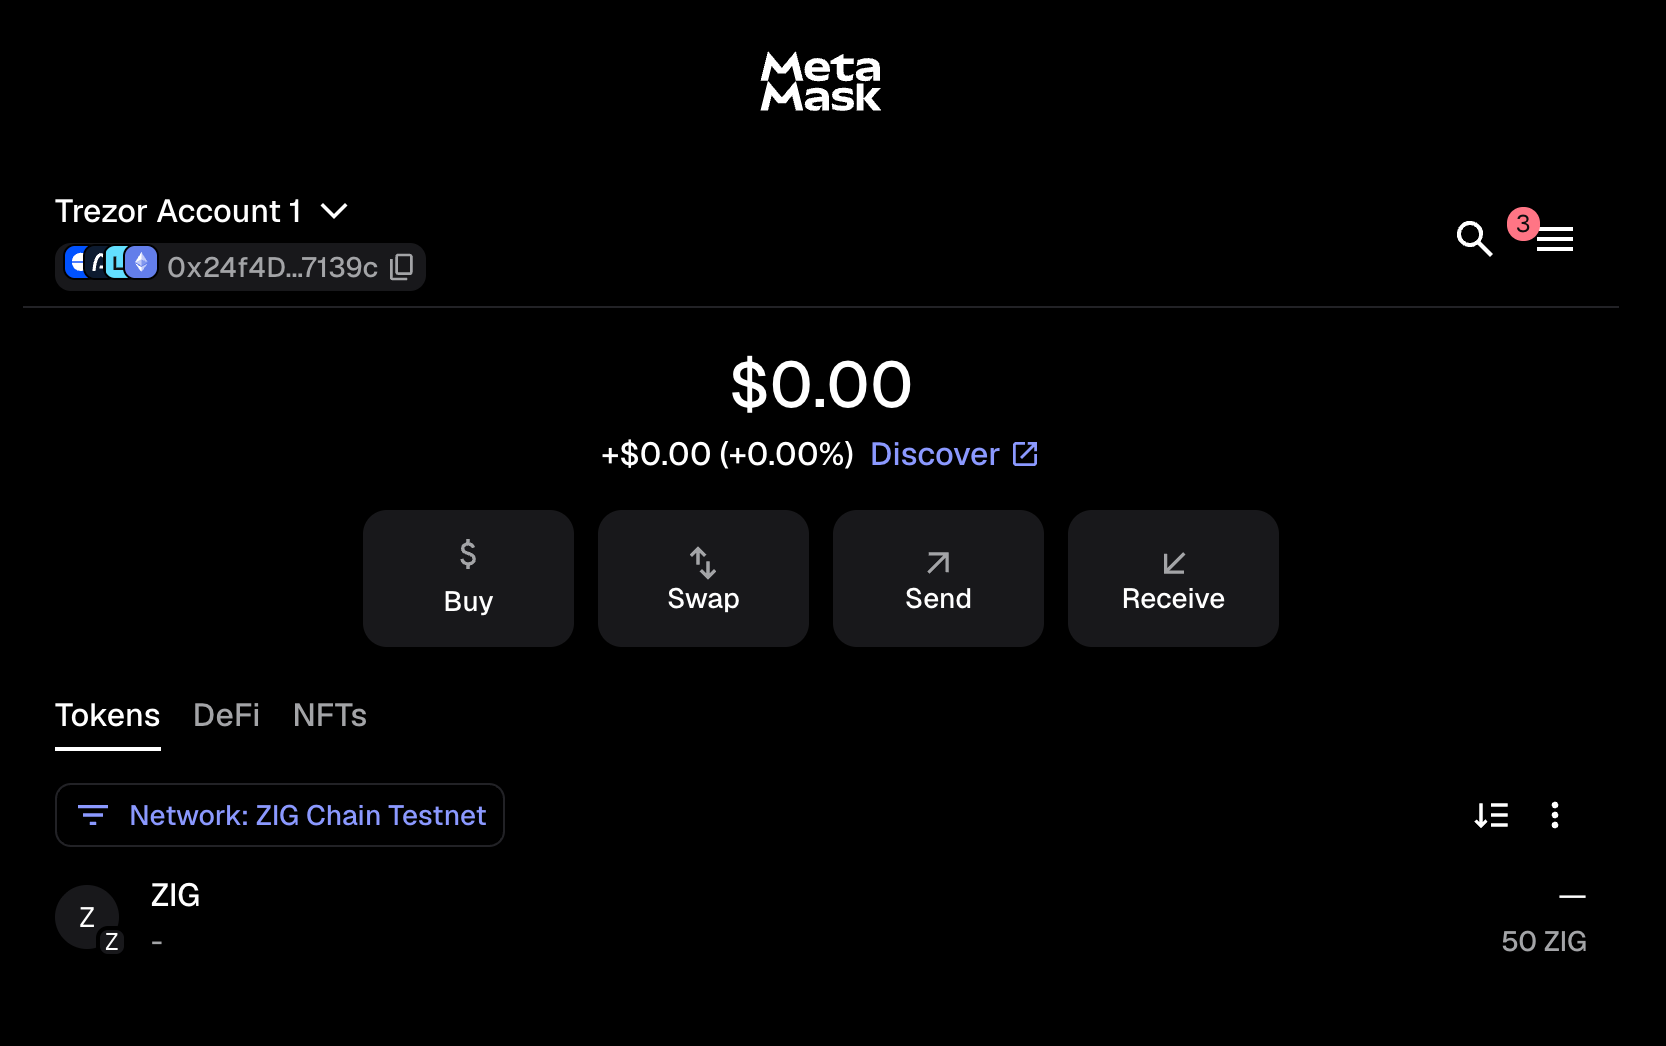
MetaMask lists the account as Trezor Account 1. After you switch to ZIGChain, MetaMask shows its ZIG balance.
Step 3: Select ZIGChain and Send a Transaction
Each transaction from the Trezor account needs a confirmation in MetaMask and then on the Trezor device.
- In MetaMask, select the Trezor account and switch to ZIGChain with the Network filter on the Tokens tab.
- Fill in the transaction details and confirm in MetaMask.
- Check the transaction details on your Trezor and confirm on the device.
Use Trezor on the ZIGChain Hub
On ZIGChain Testnet, the ZIGChain Hub signs Cosmos transactions, such as staking, from a Trezor account in MetaMask through EIP-712.
- Add your Trezor account to MetaMask with Step 2: Connect Your Trezor to MetaMask, then connect and unlock your Trezor.
- Go to the ZIGChain Hub and click Connect Wallet.
- On Connect a wallet, select MetaMask under EVM · SIGN WITH EIP-712, and connect your Trezor account.
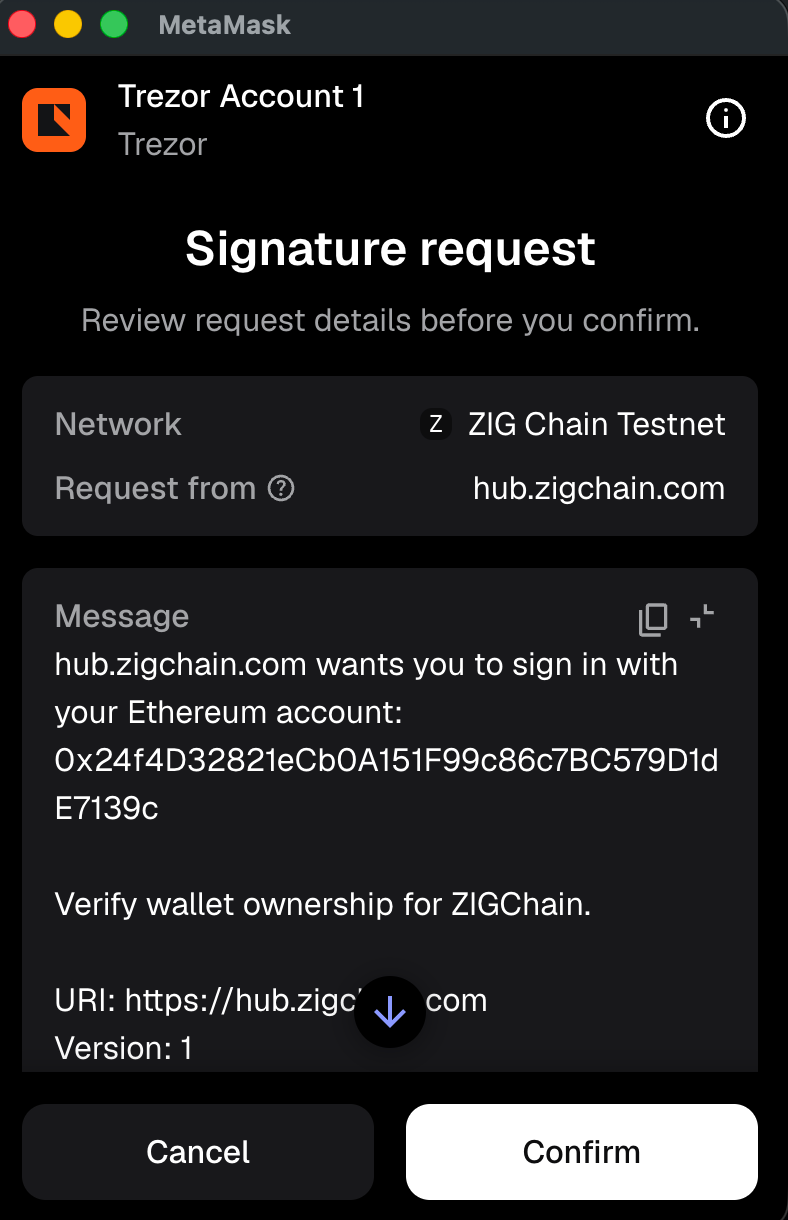
- MetaMask shows a Signature request from hub.zigchain.com to sign in with your Ethereum account. Select Confirm.
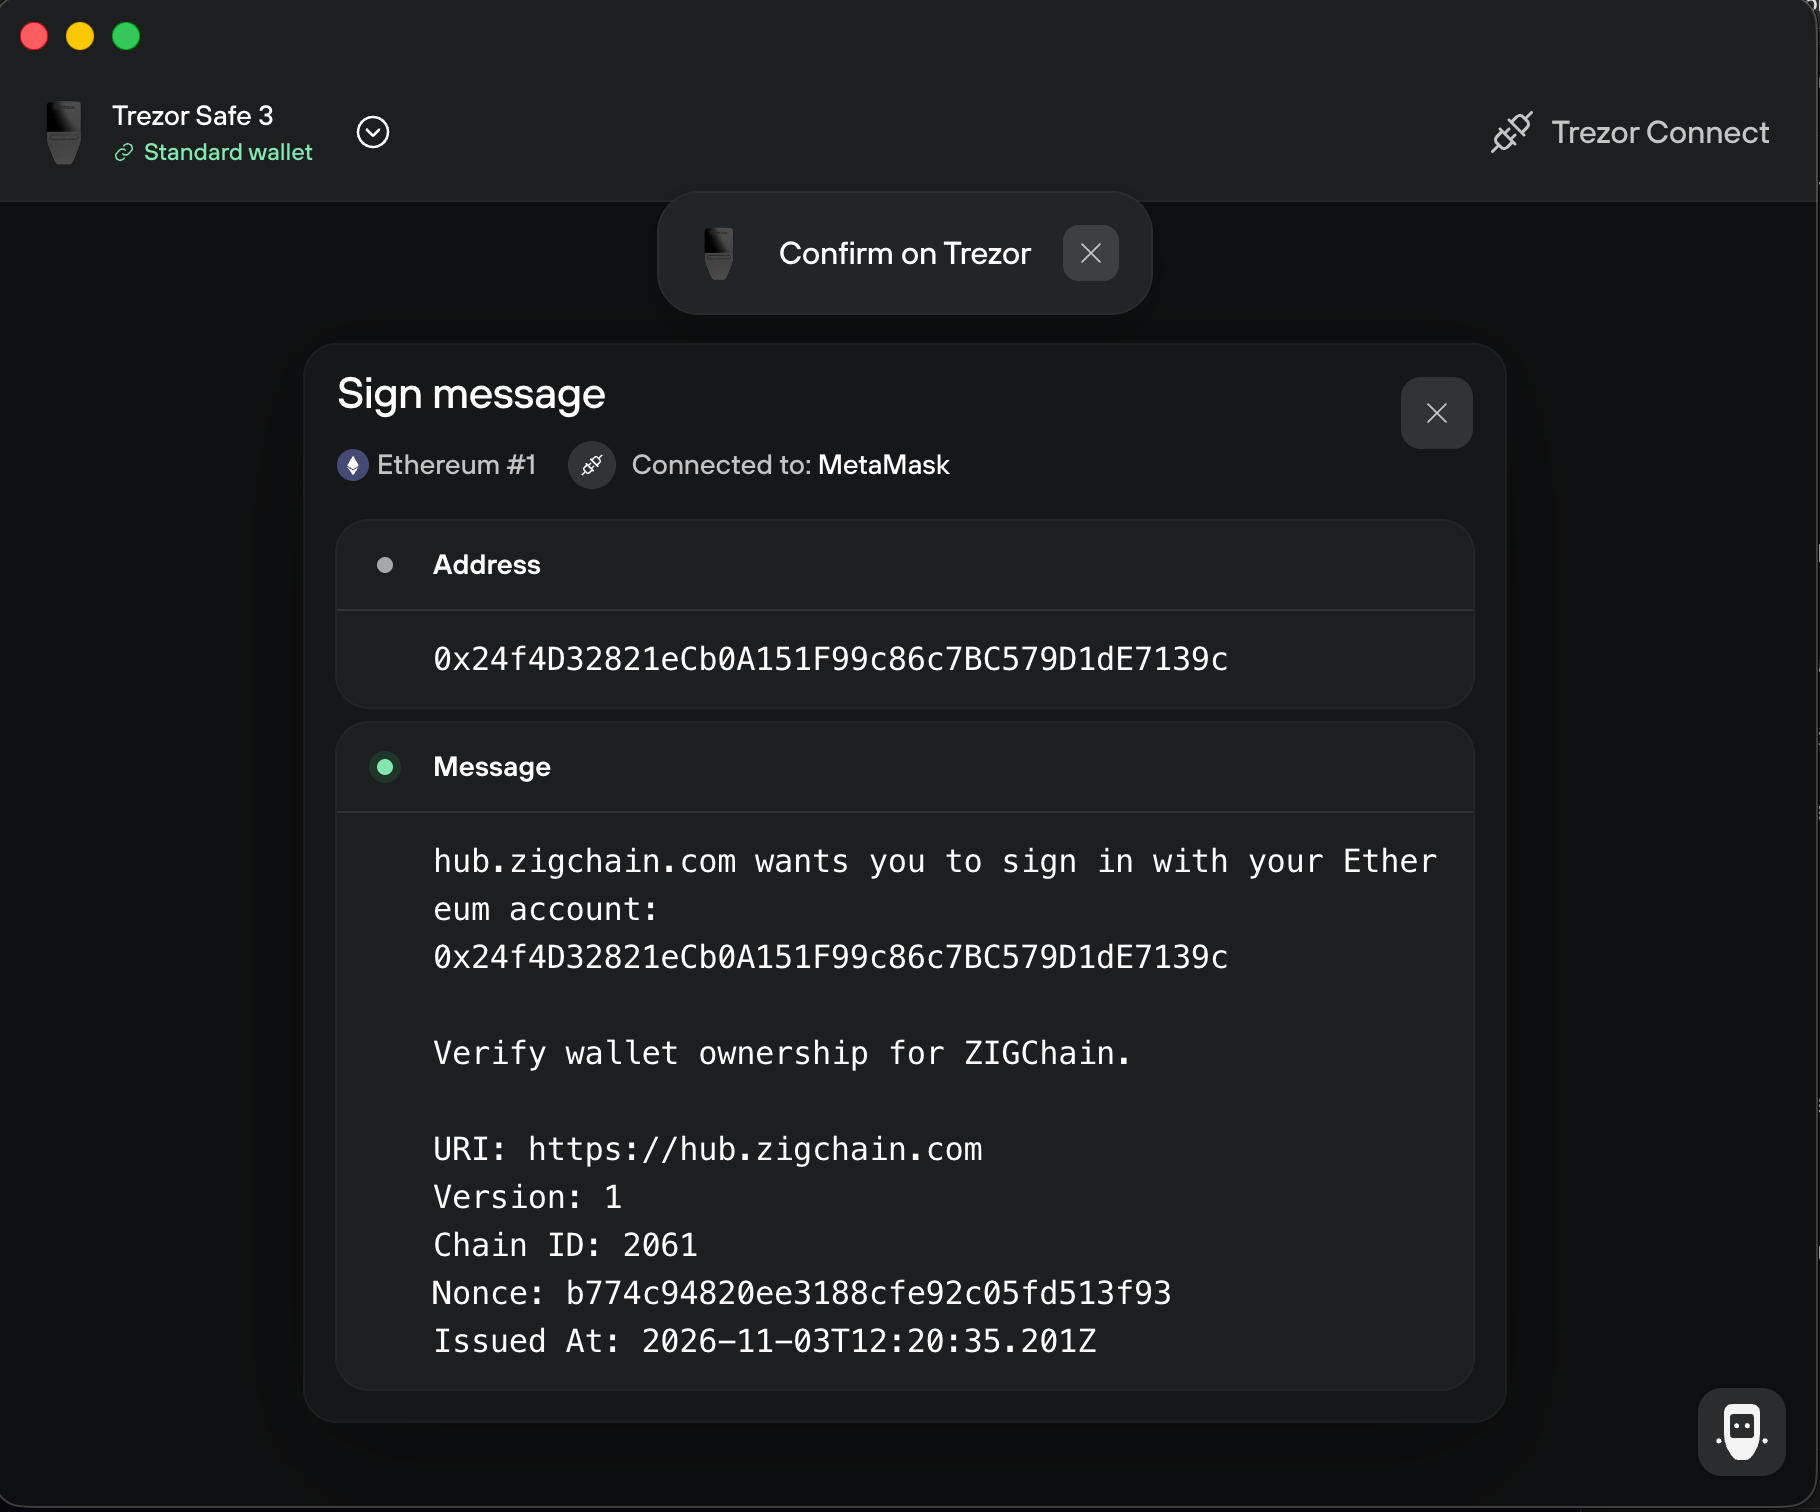
- Trezor Connect shows Sign message with your address and the sign-in message, including chain ID 2061. Check it and confirm on your Trezor.
- Start a Hub action, such as staking. MetaMask shows a Signature request with the transaction fields.
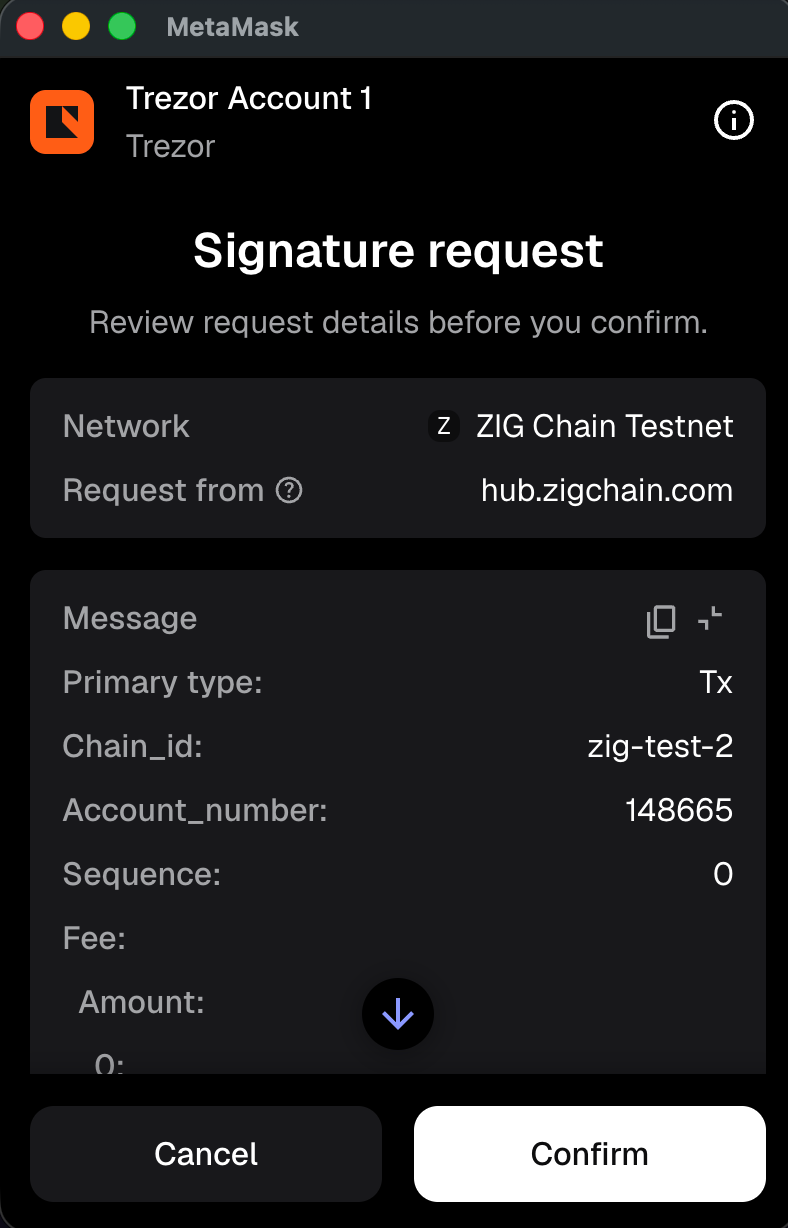
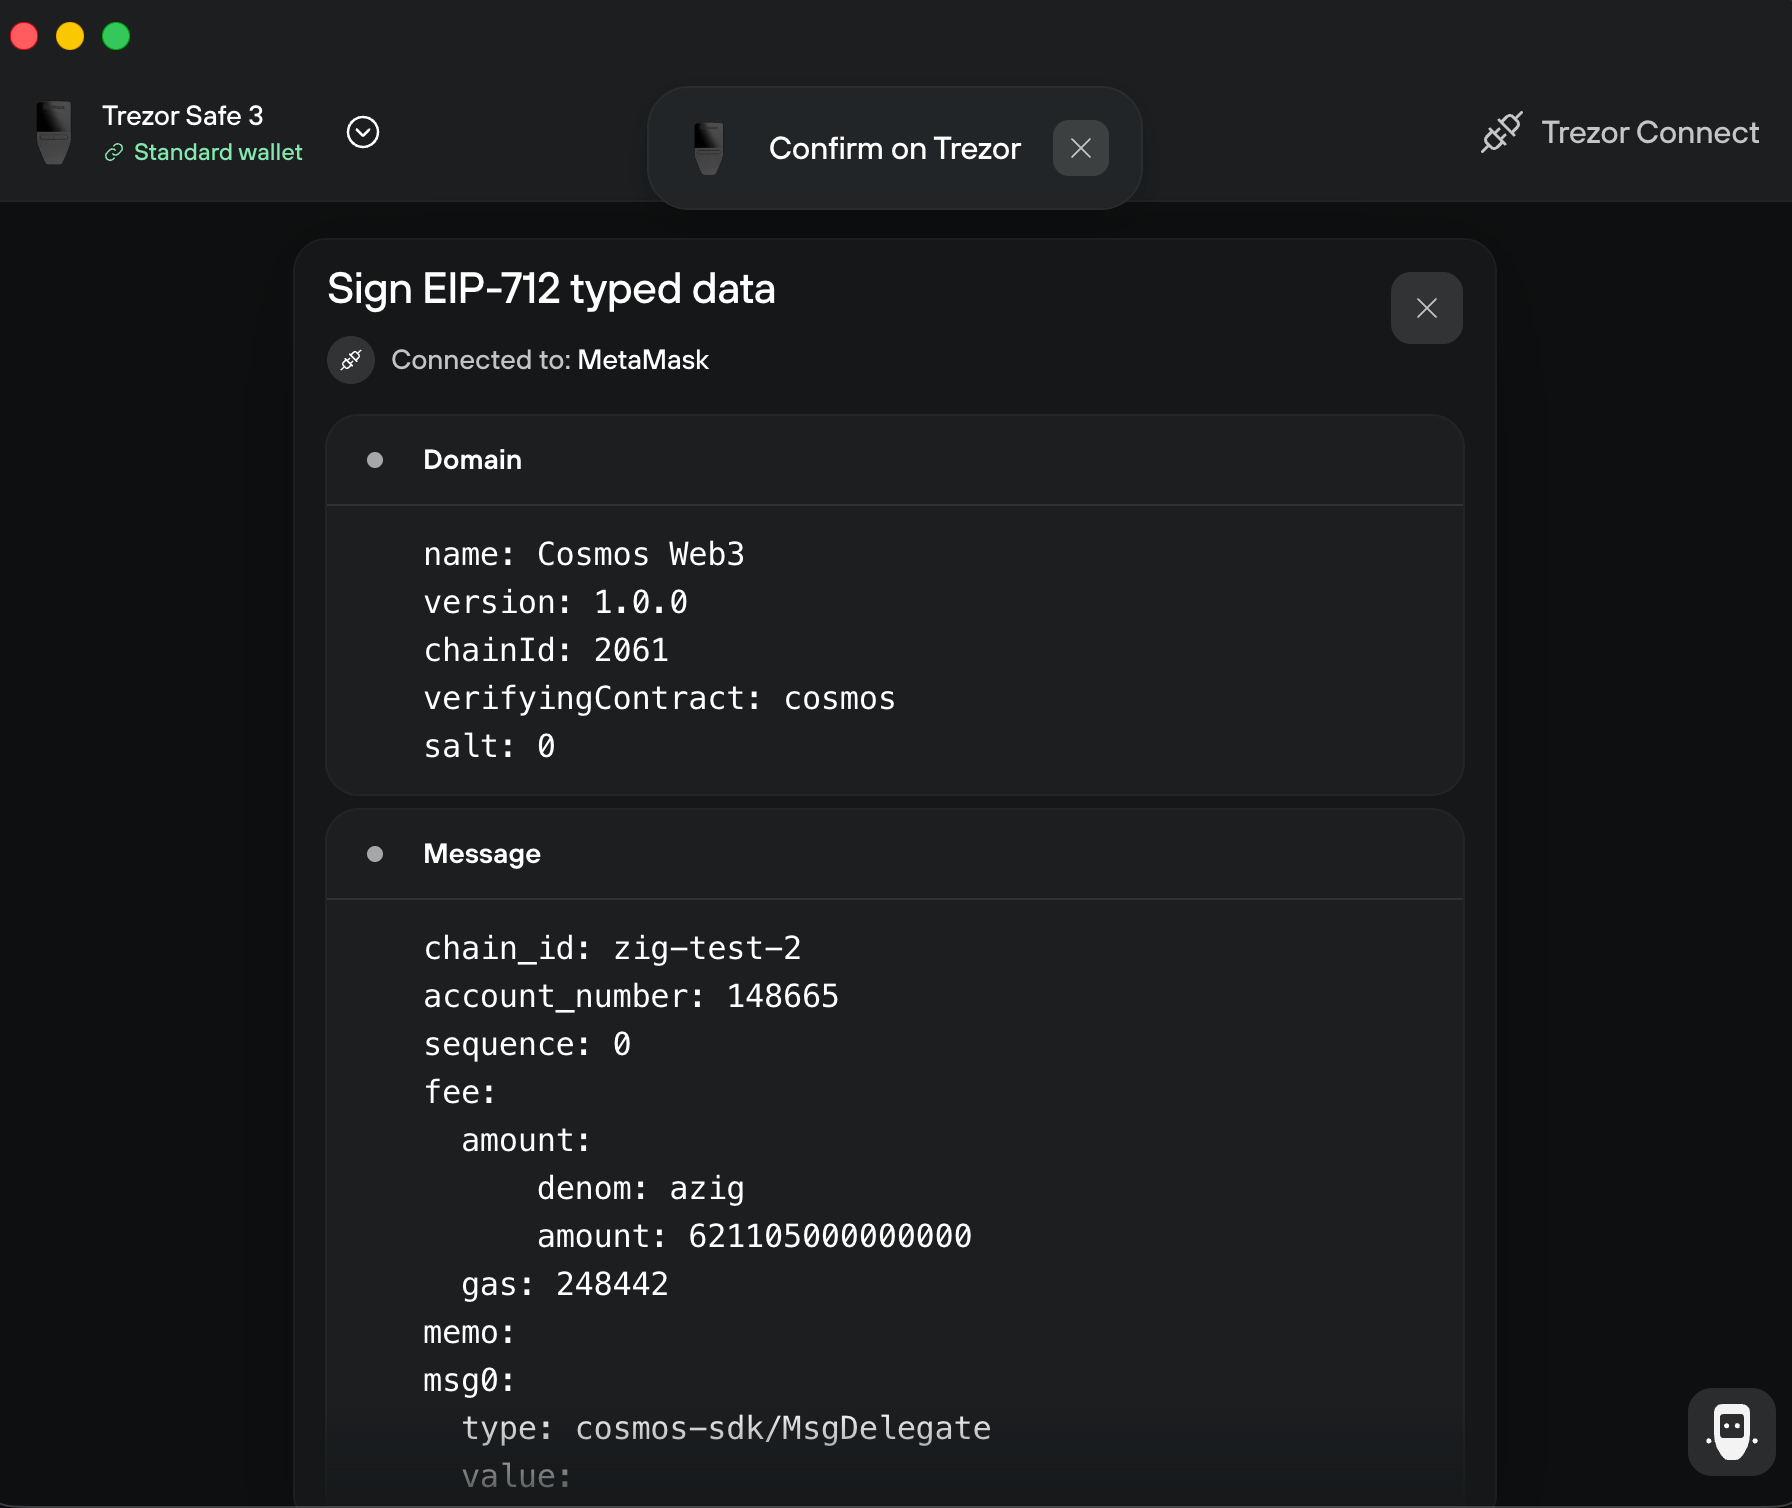
- Select Confirm in MetaMask. Trezor Connect shows Sign EIP-712 typed data with the same fields, such as the chain ID, the fee and the
cosmos-sdk/MsgDelegatemessage. Check them and confirm on your Trezor.
How the Trezor Account Relates to ZIGChain Addresses
The Trezor account in MetaMask has a 0x address. On ZIGChain, the same account also has a zig1 address, and both forms share one balance. See Wallet Compatibility for how each wallet derives its account.